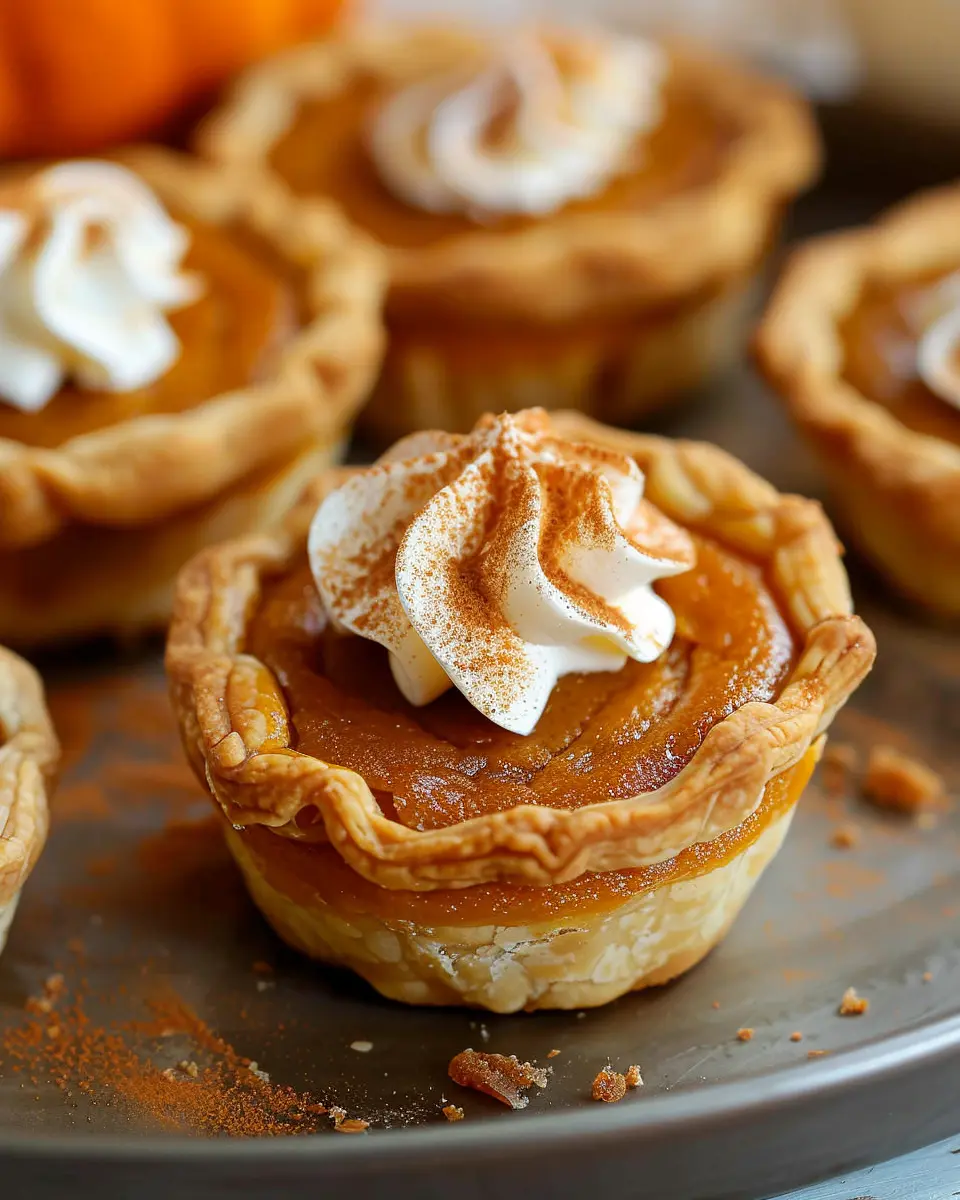
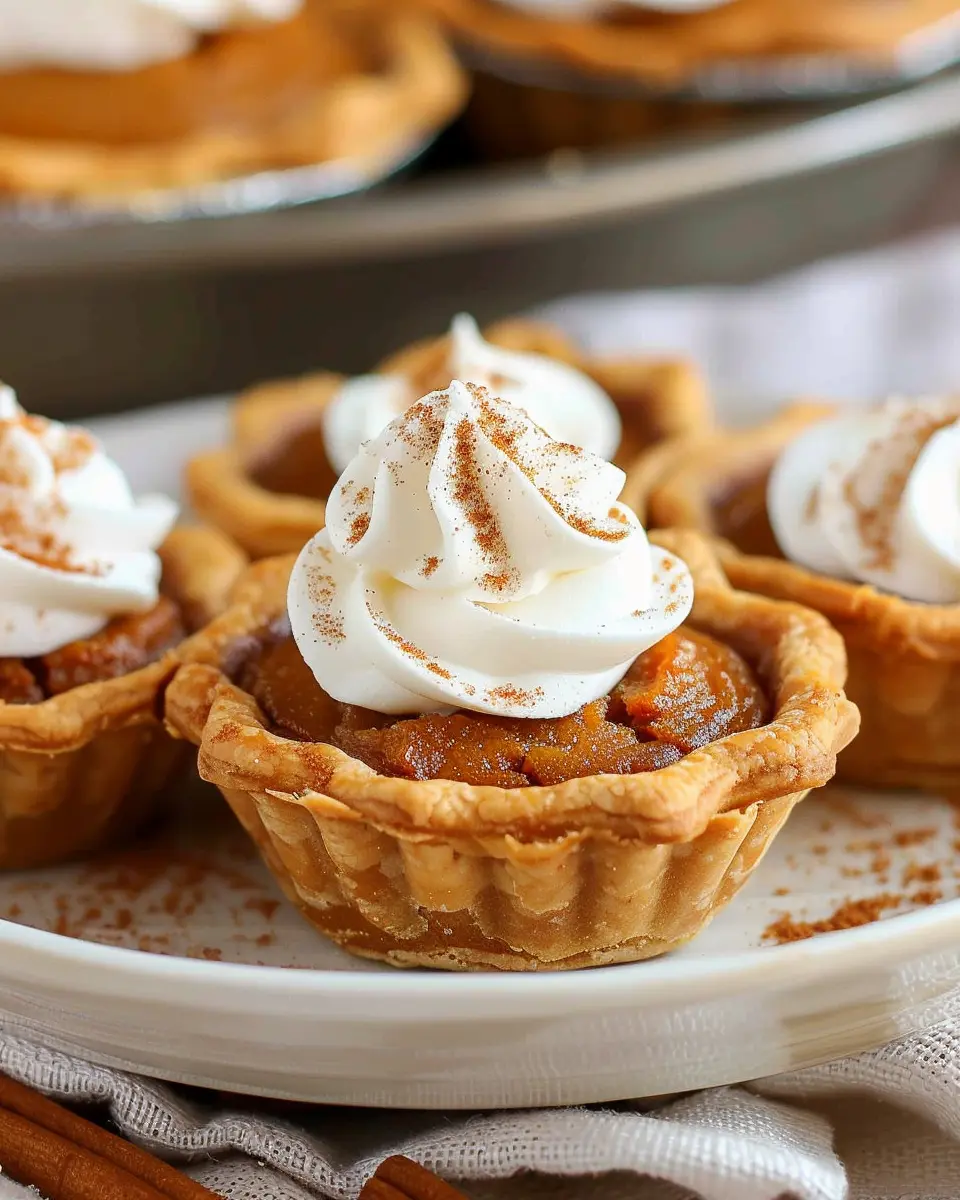
Introduction to Mini Pumpkin Pies
When autumn rolls around, one dessert that always captures our hearts is the classic pumpkin pie. But what if we could take the essence of that delicious treat and shrink it down into adorable, bite-sized portions? That’s where mini pumpkin pies come into play! These delightful little pastries not only pack all the comforting flavors of traditional pumpkin pie but also have the added charm of being perfectly portioned.
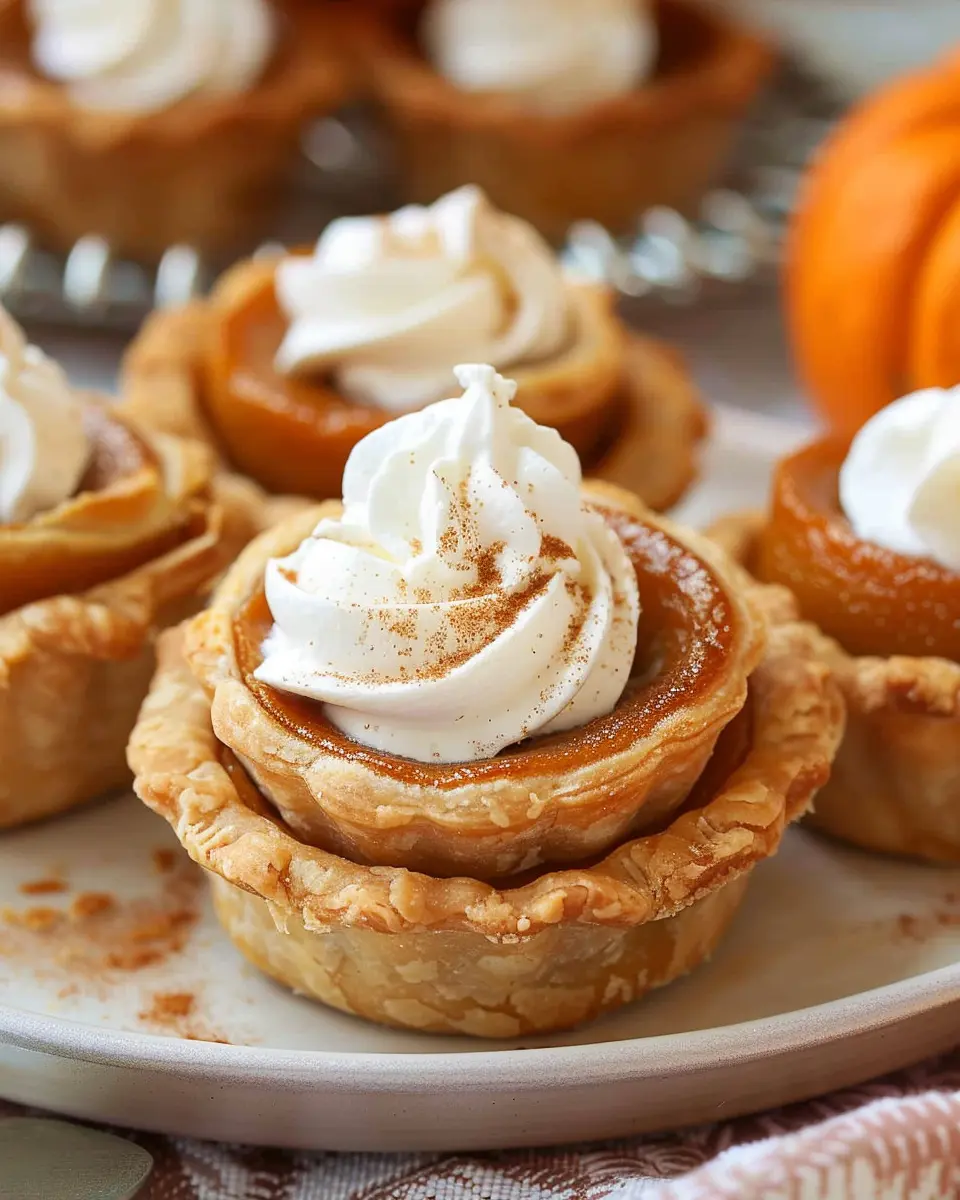
Why You’ll Love Mini Pumpkin Pies
Imagine hosting a gathering where these delightful mini pumpkin pies grace the table. They’re not just eye-catching; they also eliminate the need for slicing and serving, making them convenient for mingling guests. Each person can grab their own mini pie, allowing you to enjoy that crispy crust and spiced filling without any fuss. Plus, they encourage a fun, casual atmosphere, perfect for the cozy vibes of fall.
What’s more, these treats are incredibly easy to make! With a simple list of ingredients and a few easy steps, you can whip up a batch in no time. Each pie is filled with a spiced mixture of pumpkin puree, eggs, and a blend of warm spices like cinnamon and nutmeg. If you’re pressed for time, consider checking out this guide on how to streamline your baking process without compromising on flavor.
But don’t just take my word for it! Did you know that pumpkin is exceedingly nutritious? Packed with vitamins A, C, and E, it offers health benefits alongside satisfaction. According to the American Heart Association, pumpkin’s high fiber content can be beneficial for digestion, making these desserts not only tasty but also a little bit guilt-free.
So, whether you’re planning a holiday feast or just want to indulge in a sweet treat while enjoying a cozy evening at home, mini pumpkin pies are a delightful choice. These cuties bring joy, warmth, and a sprinkle of nostalgia to any occasion. Stay tuned as we dive into the recipe that will make your taste buds sing!
Essential ingredients for delicious mini pies
Creating scrumptious mini pumpkin pies starts with the right ingredients. Here’s what you’ll need to whip up these delightful treats that are perfect for gatherings or simply for indulging on a cozy evening at home.
- Pumpkin puree: This is the star ingredient! Opt for 100% pure pumpkin so that you get that rich flavor without fillers. You can also check out Libby’s for quality options.
- Granulated sugar: Sweetness is key to balancing the spices.
- Brown sugar: This adds a caramel-like depth you won’t want to skip.
- Spices: Ground cinnamon, nutmeg, and ginger work together to create that classic pumpkin pie flavor.
- Eggs: They help bind everything together for that creamy texture.
- Heavy cream: For richness, a splash of heavy cream (or even coconut cream for a dairy-free option) makes your filling extra luscious.
- Pre-made pie crust: For convenience, grab a store-bought option, or make your own if you’re feeling adventurous.
With these essential ingredients, you’re ready to start your mini pie-making adventure!
Preparing Mini Pumpkin Pies
If you’re looking for a fun, festive dessert that will impress your friends and family while also satisfying your cravings, mini pumpkin pies are the way to go! With the perfect blend of spices and a flaky crust, these adorable treats will become a favorite at any gathering. Let’s walk through the process of making them, step by step.
Gather Your Ingredients
Before you dive into baking, the first step is to collect all your ingredients. Having everything ready will make the process smoother and more enjoyable. Here’s what you’ll need:
-
For the crust:
-
1 ½ cups all-purpose flour
-
½ cup unsalted butter, chilled and cubed
-
2 tablespoons sugar
-
1/4 teaspoon salt
-
3-4 tablespoons cold water
-
For the filling:
-
1 can (15 oz) pumpkin puree
-
¾ cup packed brown sugar
-
2 large eggs
-
½ teaspoon ground cinnamon
-
¼ teaspoon ground nutmeg
-
½ teaspoon vanilla extract
-
½ cup evaporated milk (or a dairy-free alternative)
Ensure you have a clean workspace, and don’t hesitate to put on some upbeat music to get into the baking spirit!
Prepping the Pie Crust
Making a flaky crust is essential for successful mini pumpkin pies. Here’s how to do it:
-
Mix the Dry Ingredients: In a mixing bowl, whisk together flour, sugar, and salt. This mixture should be uniform before adding the butter.
-
Incorporate the Butter: Add the chilled, cubed butter into the flour mixture. Use a pastry cutter or your fingers to combine until it resembles coarse crumbs.
-
Add Water: Gradually add the cold water, one tablespoon at a time, mixing until the dough begins to come together. You want it just moist enough to hold its shape without being sticky.
-
Chill the Dough: Wrap the dough in plastic wrap and refrigerate for at least 30 minutes. This step is crucial for the flakiness of the crust.
Making the Pumpkin Filling
While your crust is chilling, it’s the perfect time to prep the filling. This step is incredibly simple and immensely satisfying:
-
Combine Ingredients: In a large bowl, mix the pumpkin puree, brown sugar, eggs, cinnamon, nutmeg, vanilla extract, and evaporated milk. Make sure everything is well combined and smooth.
-
Taste and Adjust: Taste your mixture and feel free to adjust spices to your liking. Some prefer a little more cinnamon or nutmeg, so don’t be shy.
Assembling the Mini Pies
With your crust and filling ready, it’s time to bring everything together:
-
Roll Out the Dough: On a floured surface, roll out the dough to about 1/8 inch thick. Use a round cookie cutter or a glass to cut out circles (about 3-4 inches in diameter) to fit into your mini muffin pans.
-
Fit into Muffin Tin: Carefully place each circle into the muffin tin, pressing down gently to form a little cup.
-
Fill with Pumpkin Mixture: Spoon the pumpkin filling into each crust, filling them about 3/4 full.
Baking to Perfection
Now that the mini pumpkin pies are assembled, it’s time to bake!
-
Preheat the Oven: Set your oven to 350°F (175°C).
-
Bake the Pies: Place your muffin tin in the oven and let them bake for about 20-25 minutes, or until the filling is set and a toothpick inserted comes out clean.
-
Cool and Serve: Allow the pies to cool in the tin for 10 minutes before transferring them to a wire rack. Serve them warm or at room temperature, perhaps with a dollop of whipped cream on top!
By following these steps, you’ll end up with adorable and delicious mini pumpkin pies that are perfect for any occasion. Don’t forget to share them with friends—you might just become the unofficial dessert champion in your circle! For more tips on perfecting your crust or exploring alternative flavors, check out resources like The Kitchn or Serious Eats for excellent baking guidance. Happy baking!
Variations on Mini Pumpkin Pies
Chocolate Mini Pumpkin Pies
If you’re a chocolate lover, why not elevate your mini pumpkin pies with a delicious chocolate twist? By simply adding melted chocolate to your pumpkin filling, you can create a decadent dessert that’s sure to impress. Use high-quality dark chocolate for a richer flavor, and mix in about 1/3 cup with your pumpkin puree. You can also drizzle some chocolate ganache on top for an elegant touch. Your friends and family will rave about these delightful bites!
Mini Pumpkin Pies with a Twist of Spice
Looking to make your mini pumpkin pies stand out? Consider infusing them with a unique combination of spices. While cinnamon, nutmeg, and ginger are classic, don’t be afraid to get creative. A pinch of cardamom or even a dash of cayenne can add unexpected warmth and depth. Another option is to incorporate herbal notes like rosemary or sage into the crust for an aromatic surprise. These subtle changes can transform your little pies into gourmet treats that spark conversation at any gathering.
Experimenting with these variations allows you to craft the perfect mini pumpkin pie for any occasion. Whether you opt for the richness of chocolate or the boldness of spice, these flavors can elevate your desserts from ordinary to extraordinary.
Want to dive deeper into the world of pumpkin desserts? Check out this article on creative pumpkin recipes that can inspire even more tasty ideas! Remember, food is about sharing—so don’t hesitate to experiment and invite your friends over for a mini pie tasting!
Baking notes for Mini Pumpkin Pies
Tips for best results
To ensure your mini pumpkin pies are the talk of the gathering, follow these simple yet effective tips:
- Use fresh pumpkin: If possible, opt for fresh pumpkin instead of canned. It brings a deeper flavor and a velvety texture.
- Chill your dough: Before shaping your pie crust, chill it for at least 30 minutes. This prevents shrinkage during baking.
- Don’t overmix: Mix your filling only until smooth. Overmixing can introduce air bubbles, leading to cracks in your pies.
For more tips on pie crust perfection, check out King Arthur Baking for expert advice.
Common mistakes to avoid
Every baker has their slip-ups; here are a couple to watch out for:
- Skipping the spice: Make sure to use enough spices for that warm fall flavor. A pinch of nutmeg and cinnamon can elevate your pumpkin filling immensely.
- Underbaking: It’s tempting to rush the process, but your mini pumpkin pies need sufficient baking time to set properly. Check for a slight jiggle in the center as an indicator of doneness.
Avoiding these pitfalls can lead to delicious, crowd-pleasing mini treats!
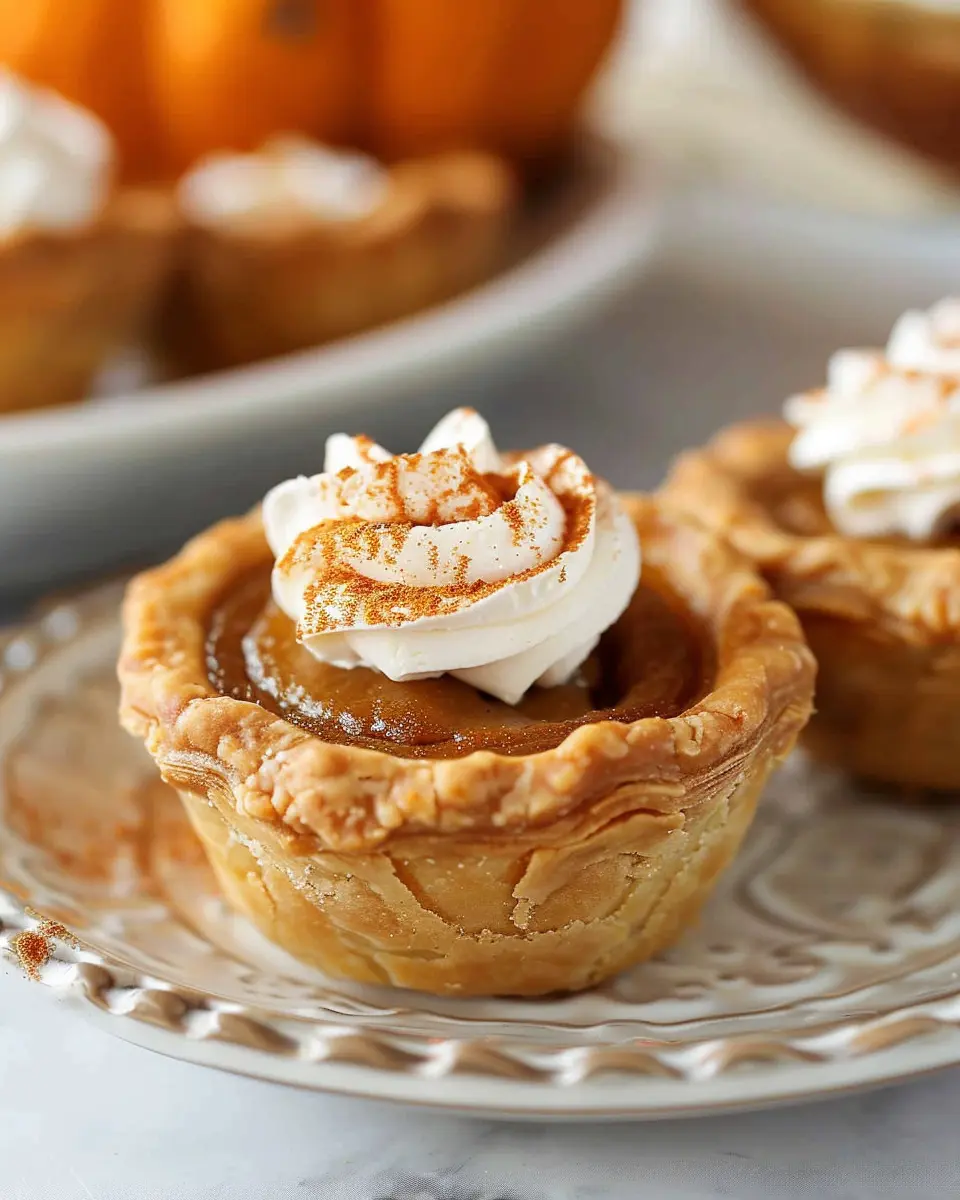
Serving suggestions for Mini Pumpkin Pies
Pairings for the perfect dessert experience
When it comes to enjoying your mini pumpkin pies, pairing them with the right sides can elevate your dessert experience. Consider serving them alongside a scoop of homemade vanilla ice cream or a dollop of freshly whipped cream for that creamy contrast to the spiced filling. For a refreshing twist, a small serving of spiced apple cider or chai tea can harmonize beautifully with the flavors of pumpkin and warm spices.
Creative serving ideas
Don’t stop at just dessert; get creative with your presentation! Here are some fun ideas to impress your guests:
- Individual boxes: Present each pie in a small, decorated box for a charming take-home treat.
- Platter display: Arrange the mini pumpkin pies on a decorative platter surrounded by festive autumn leaves for a seasonal centerpiece.
- Garnish: Add a sprinkle of cinnamon or nutmeg on top for an extra sprinkle of flair.
For more serving inspiration, explore options on sites like Martha Stewart or Food Network. Each pie is a delightful bite, and with these suggestions, your gathering is set up for success!
Cooking tips and notes for Mini Pumpkin Pies
How to store and reheat mini pies
Once your mini pumpkin pies have cooled, storing them properly can make all the difference. To keep them fresh:
- Chill in the fridge: Place the pies in an airtight container and store them in the refrigerator for up to three days.
- Freezing option: For longer storage, wrap each pie in plastic wrap and then in aluminum foil. They’ll stay good for about a month. Just thaw in the fridge overnight before reheating.
When it comes to reheating, the oven is your best friend. Preheat it to 350°F (175°C) and warm the pies for about 10 minutes. This will revive the crust, making it nice and crispy again!
Tips for achieving the perfect crust
The crust can truly elevate your mini pumpkin pies, so let’s get it right:
- Chill your ingredients: Use cold butter and ice-cold water. This helps create a tender, flaky texture.
- Don’t overwork the dough: Mix until just combined. This keeps the crust light instead of dense.
- Roll evenly: Aim for an even thickness to ensure that your crust bakes uniformly.
Another little tip? Use a fork to crimp the edges before baking; it adds a lovely decorative touch while sealing in all that delicious pumpkin goodness. Remember, practice makes perfect! For more guidance, you might like to check out The Kitchn’s pie crust guide for tips and tricks!
Time breakdown for Mini Pumpkin Pies
Preparation time
Getting ready for your delightful mini pumpkin pies should only take about 15 minutes. This involves gathering your ingredients, rolling out the dough, and prepping the filling. If you’re feeling adventurous, you could even try making your own pie crust!
Baking time
Baking your mini pumpkin pies will take approximately 20-25 minutes. Your kitchen will be filled with a warm, inviting aroma, and you’ll definitely want to keep an eye on them to ensure they don’t overbake.
Chilling time
After baking, allow the pies to cool for about 30 minutes before serving. This chilling time lets the flavors meld beautifully and ensures they’re not too hot to handle.
Total time
In total, you’re looking at approximately 1 hour and 10 minutes from start to finish, including prep, baking, and chilling. Perfect for a weekend gathering or a cozy night in! For more tips on pie baking, check out this pie-making guide for professional insights!
Nutritional Facts for Mini Pumpkin Pies
Calories and Key Nutrients
A serving of mini pumpkin pies typically contains around 120-150 calories, depending on the crust and sweetener used. This delightful treat packs a nutritious punch with essential vitamins and minerals, including:
- Vitamin A: Great for vision and immune health
- Fiber: Aids digestion and keeps you feeling full
- Iron: Important for blood health
- Potassium: Supports heart function and muscle contractions
Additionally, using alternatives like whole grain crusts can elevate the nutritional profile even further.
Health Benefits of Pumpkin
Did you know that pumpkin is a nutritional superstar? It’s not just for decoration during fall! Pumpkins are rich in antioxidants and vitamins that can contribute to overall health.
- Weight Management: Low in calories but high in fiber, making mini pumpkin pies a guilt-free dessert option.
- Heart Health: Pumpkin seeds are loaded with healthy fats, promoting good cardiovascular health—but don’t forget to enjoy the flesh too!
For more insights on the fantastic benefits of pumpkin, check out the information from the American Heart Association.
Next time you indulge in mini pumpkin pies, you can savor not only the delicious flavors but also their health benefits!
FAQs about Mini Pumpkin Pies
Can I use fresh pumpkin instead of canned?
Absolutely! Using fresh pumpkin can enhance the flavor and nutritional value of your mini pumpkin pies. To prepare fresh pumpkin, cut it in half, remove the seeds, and roast the halves until tender. Then, scoop out the flesh and puree it. You’ll need about 1 cup of pureed fresh pumpkin to replace the 1 can (15 ounces) of canned pumpkin.
How do I make mini pumpkin pies gluten-free?
Making mini pumpkin pies gluten-free is easier than you might think! Simply replace the traditional pie crust with a gluten-free alternative. You can use almond flour, coconut flour, or a store-bought gluten-free pie crust for convenience. Just ensure the crust you choose is certified gluten-free to avoid any cross-contamination issues.
What’s the best way to serve mini pumpkin pies?
Serving your mini pumpkin pies can be as simple or as fancy as you like. For a casual gathering, top them with a dollop of whipped cream and a sprinkle of cinnamon. If you want to impress, consider serving them on a beautiful platter with caramel or chocolate sauce drizzled around them. You might even offer a scoop of vanilla ice cream on the side!
How long can I store these pies?
Good news! Your mini pumpkin pies can be stored in the refrigerator for up to 3-4 days. If you want to keep them longer, consider freezing them. Just wrap them tightly in plastic wrap and aluminum foil before placing them in the freezer. They can last up to 2 months when frozen. To serve after freezing, let them thaw in the fridge overnight before enjoying!
For more helpful tips on pumpkin recipes, you can check out sources like Food Network or Serious Eats.
Conclusion on Mini Pumpkin Pies
Final thoughts on mini pumpkin pie goodness
In conclusion, mini pumpkin pies are a delightful addition to any gathering or a perfect treat for yourself. Their individual size makes them adorable and easy to serve, while their rich, spiced flavors reflect the essence of autumn. Whether you’re celebrating the season or indulging in a cozy night in, these treats are a go-to option.
Pro tip: Pair your mini pies with a dash of whipped cream or a side of vanilla ice cream for an unforgettable experience!
Feeling inspired? Check out more about the history of pumpkin pie here. Embrace the pumpkin pie goodness and share these little delights with friends and family!
PrintMini Pumpkin Pies: The Best Easy Treat for Fall Gatherings
These mini pumpkin pies are the perfect addition to your fall gatherings, combining delicious flavors and easy preparation.
- Prep Time: 20 minutes
- Cook Time: 20 minutes
- Total Time: 40 minutes
- Yield: 12 mini pies
- Category: Dessert
- Method: Baking
- Cuisine: American
- Diet: Vegetarian
Ingredients
- 1 cup pumpkin puree
- 1/2 cup sugar
- 1 teaspoon ground cinnamon
- 1/2 teaspoon ground nutmeg
- 1/4 teaspoon ground ginger
- 1/4 teaspoon salt
- 2 eggs
- 1 cup evaporated milk
- 1 package mini pie crusts
Instructions
- Preheat the oven to 425°F (220°C).
- In a large bowl, combine the pumpkin puree, sugar, spices, salt, eggs, and evaporated milk.
- Mix until well combined.
- Place the mini pie crusts on a baking sheet.
- Pour the pumpkin filling into each crust until nearly full.
- Bake for 15-20 minutes or until the filling is set.
- Let them cool before serving.
Notes
- Serve with whipped cream for extra flavor.
- These mini pies can be made a day in advance.
Nutrition
- Serving Size: 1 pie
- Calories: 150
- Sugar: 12g
- Sodium: 100mg
- Fat: 5g
- Saturated Fat: 2g
- Unsaturated Fat: 2g
- Trans Fat: 0g
- Carbohydrates: 22g
- Fiber: 1g
- Protein: 3g
- Cholesterol: 30mg